Photographing families is a good way to get involved in your community and build a sustainable portrait business. Here are a few of our technical tips to make sure the images turn out the best they possibly can:
1) Lens Selection
Choosing the right lens is important for the overall quality and look of your images. It’s actually still a touch decision for us, even after 10 years. My two favorite choices for photographing families is the 50mm and the 70-200. Over the last 5 years we have chiseled our lens selection down to include all primes with the exception of the 70-200. Let’s take a look at what these two lenses bring to the table:
• 70-200mm – This lens has the advantage of compressing the background and eliminating lens distortion on the perimeters of the image. It is also great to be able to zoom in and capture candid closeups. If you have a second shooter for your session, this is a great option for them to capture the natural unexpected moments. The disadvantage of using this lens if you are shooting alone is that it’s harder to interact from that distance, especially if you are photographing a family with little children.
• 50mm – This lens is great to being able to be close enough to your group to interact. We use this whenever we have a group with small children and usually it’s on the main shooters camera.
• 35mm (runner-up) – The 35 is runner-up selection for specific situations. We use this when we don’t have much room to work (like in the front of pews in a church). It is borderline acceptable on the exterior of the frame regarding lens distortion. We highly recommend leaving space on the perimeter of your frame when using this lens. Wide lenses don’t compress the image in the same way that a long lens will. Take a sample shot at 200mm and 24mm with your subjects on the outside edges of the frame and you will see what I mean. The people in the middle of the group will appear in normal proportion, but the further you move to the edges, the wider your subjects become. This is not a flattering effect.
2) Manual Settings and Focus
Choosing the right settings is important when photographing groups. You will likely not want to shoot wide open when photographing multiple subjects together. Your aperture setting should increase depending on how much depth or layers are in your frame. For instance, you can photograph a single person at 1.8 aperture and get a sharp image of that person, but when Jim is placed directly over her shoulder, you will find that it’s impossible to achieve sharpness for both subjects. You need to increase the aperture setting. A large group shot can be shot at F8 and maintain focus throughout multiple layers. If you really like the look of low aperture, or need to blow out the background, just make sure that all your subjects are on the same plane of focus. We shot the below image at 2.8, but since we maintain a parallel plane with minimal layering, the shot turned out a great. Another consideration is how close you are to the subject. The closer you get – the smaller your focal plane becomes. Another tip is to choose your focal point on the center subject who is closest to you. The reason for this is that you have approximately 30% less drop off in your focal plane in the background (behind your selected focal point) as you do in the foreground (in front of your focal point). 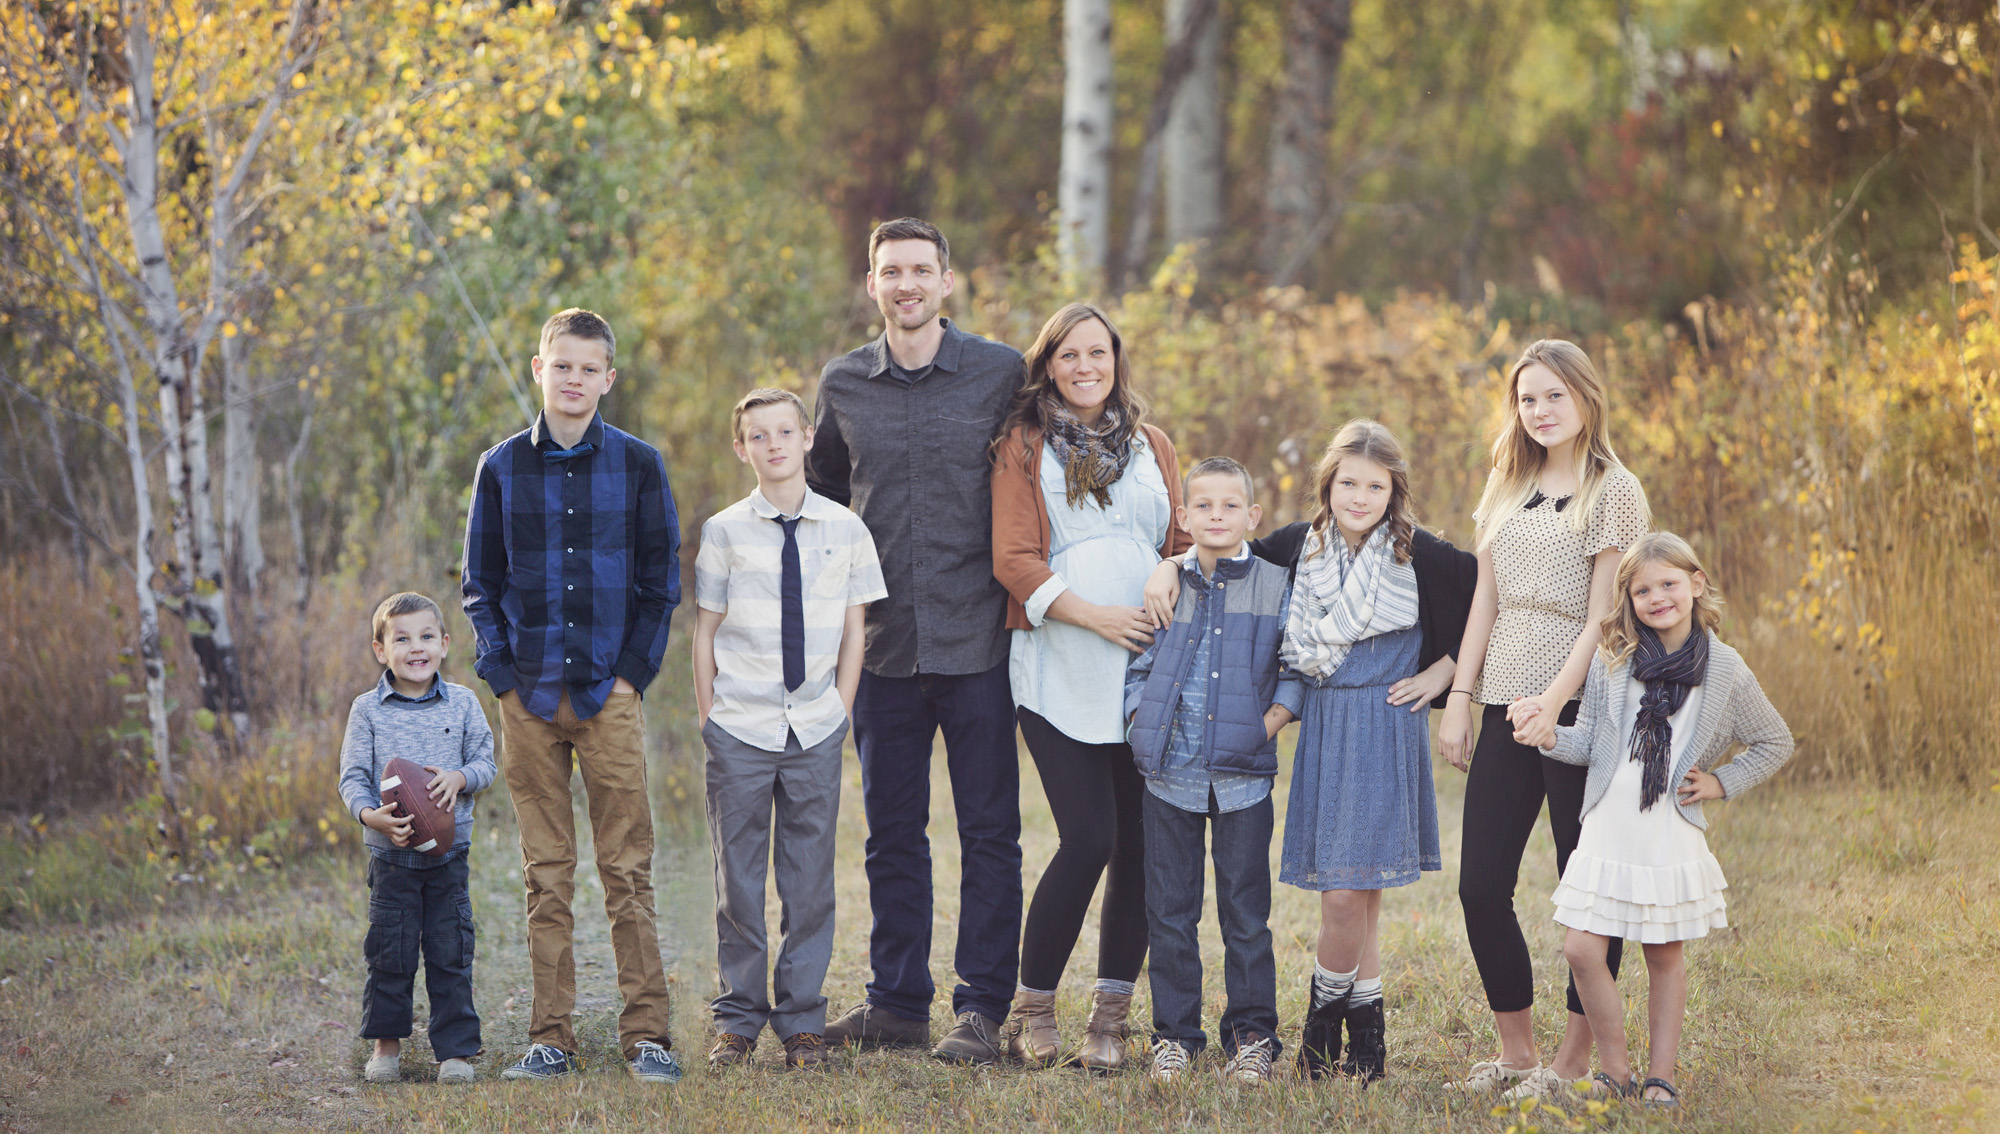
3) Lighting
Lighting is the first thing you should think about on a family location shoot. We purposely schedule most of our sessions about an 90 minutes before sunset. If you are doing multiple sessions in a day, you can start earlier. The first thing you will want to look for is slightly directional backlight. We want the natural light to provide an edge light without coming across the face. If you are forced to shoot during the afternoon, look for an open shade situation with the sun behind your subject at a slight angle. Our first consideration is where the best lighting is. The background is our second consideration. You can use a reflector or an off-camera flash to fill in light on the face but it’s not completely necessary. It just depends what look you are going for. Anytime we are shooting a beach session or sunset session, we are using a portable strobe with a beauty dish or softbox modifier. We usually position our strobes high and angled down on our subjects to resemble the sun, with the sun providing the backlight.
4) Business Tips
One of the best ways to break into the family portrait business is by first building a portfolio of your friends. Once you have a good portfolio and a solid foundation of creating quality images, it’s time to offer a mini-session. These 20 minutes sessions can be a great way to meet people and begin making money for your portraits. Holiday greeting cards are a good way to get the word out. We have gotten much of our portrait business based on the personal projects and cards we send out. We also include our logo or website on our clients cards, which spreads the word about our service in a much more effective way than traditional advertising. For more help on the business side check out our Coaching Page.